Watch our video where UNIHOC's very own Robert demonstrates how to change your floorball blade the right way.
Changing the blade on a floorball stick is something every floorball player will need to do sooner or later. Maybe the blade has worn out, cracked, or you simply want to try another model to improve your shot or passing game. Whatever the reason, it is important that the change is done correctly so that the stick performs optimally – and lasts longer.
In this guide, we go through how to mount a new floorball blade, step by step. We show what you need, how to remove the old blade and replace it with a new one, and what to keep in mind to achieve the best possible result.
What you need to change a floorball blade
- Before you start, it is important to gather the right tools and equipment. To successfully change a blade on a floorball stick you need:
- Torx (size 10) or screwdriver
- Towel or cloth
- Hot water or a heat gun (max 100°C)
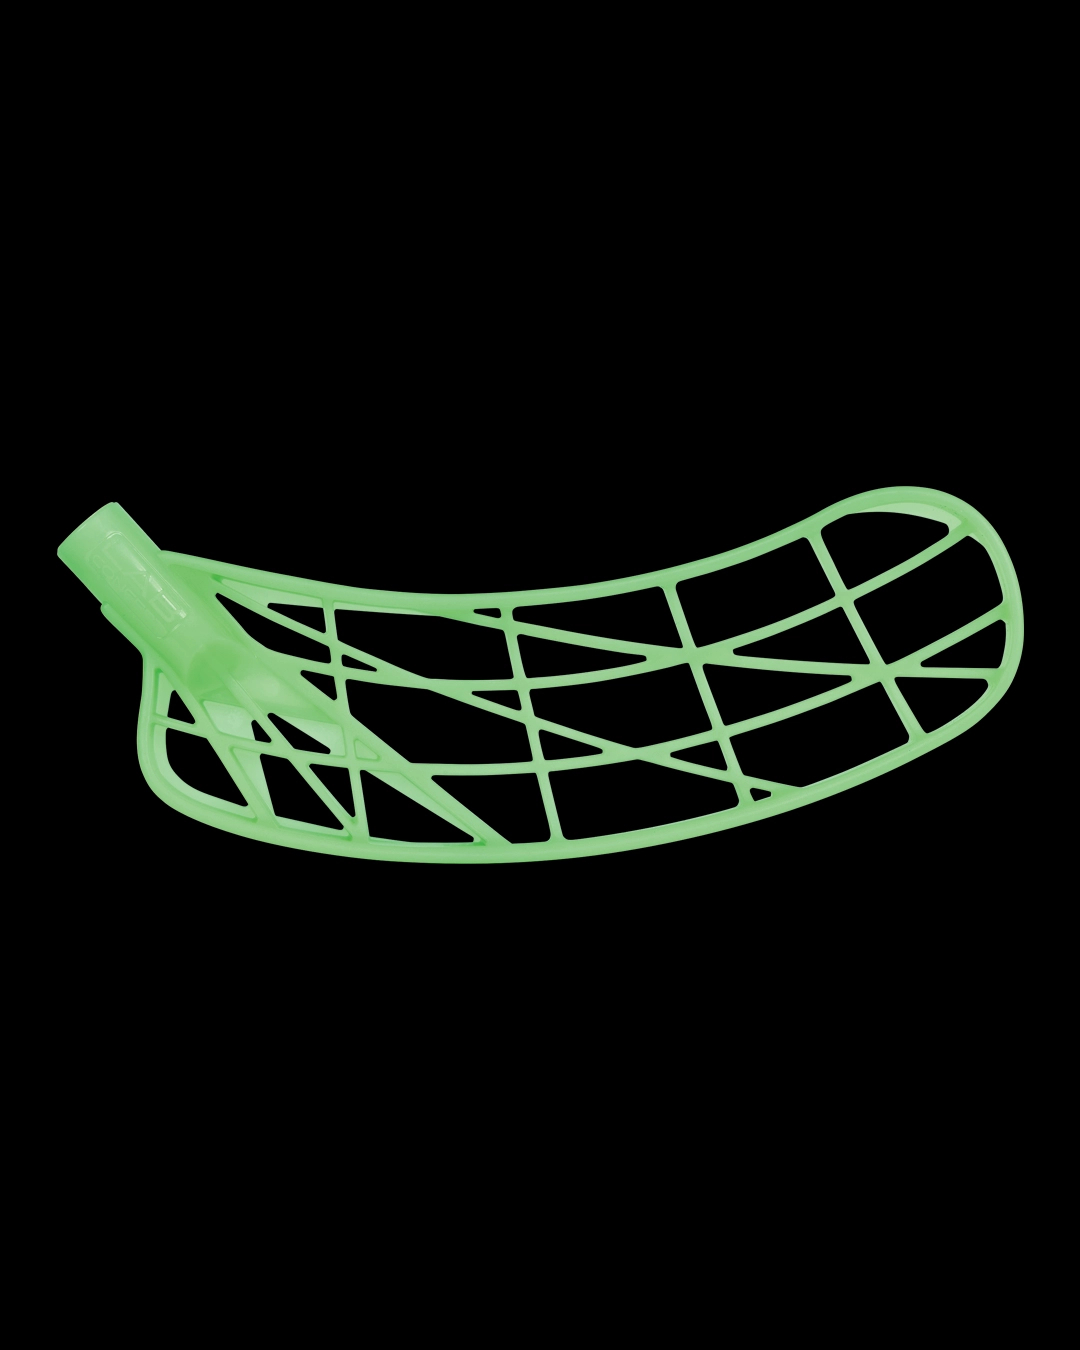
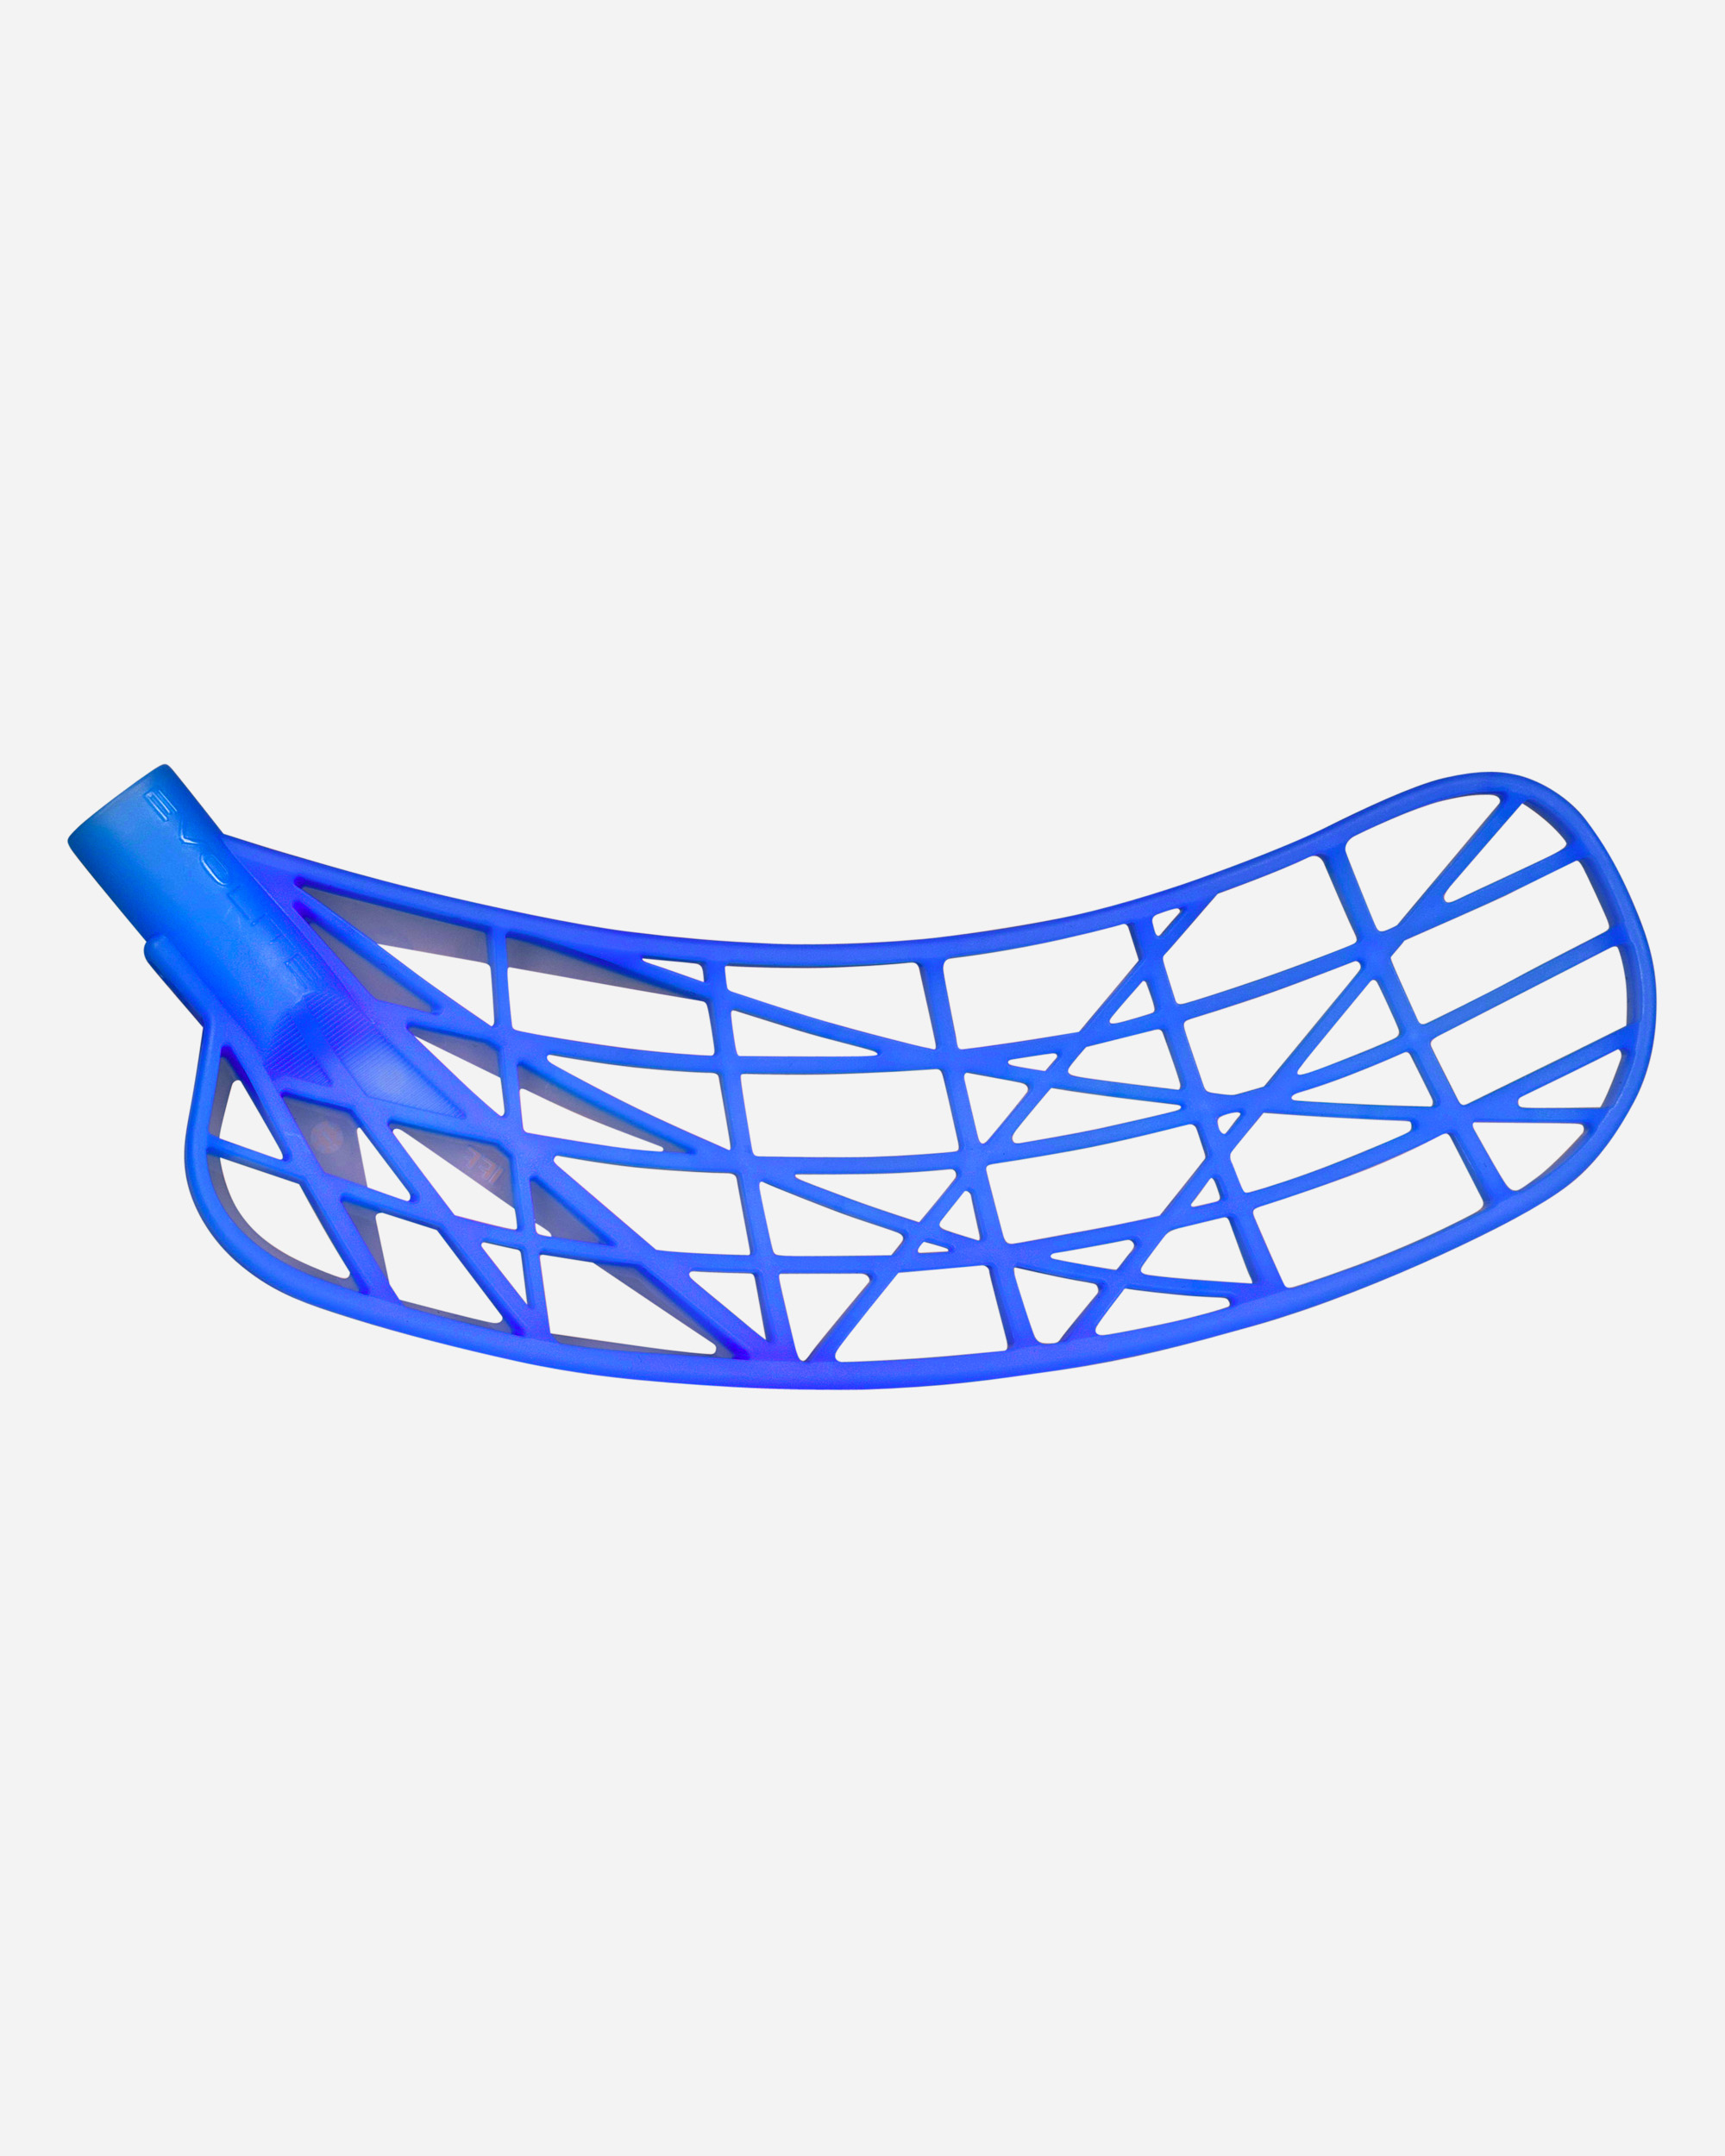
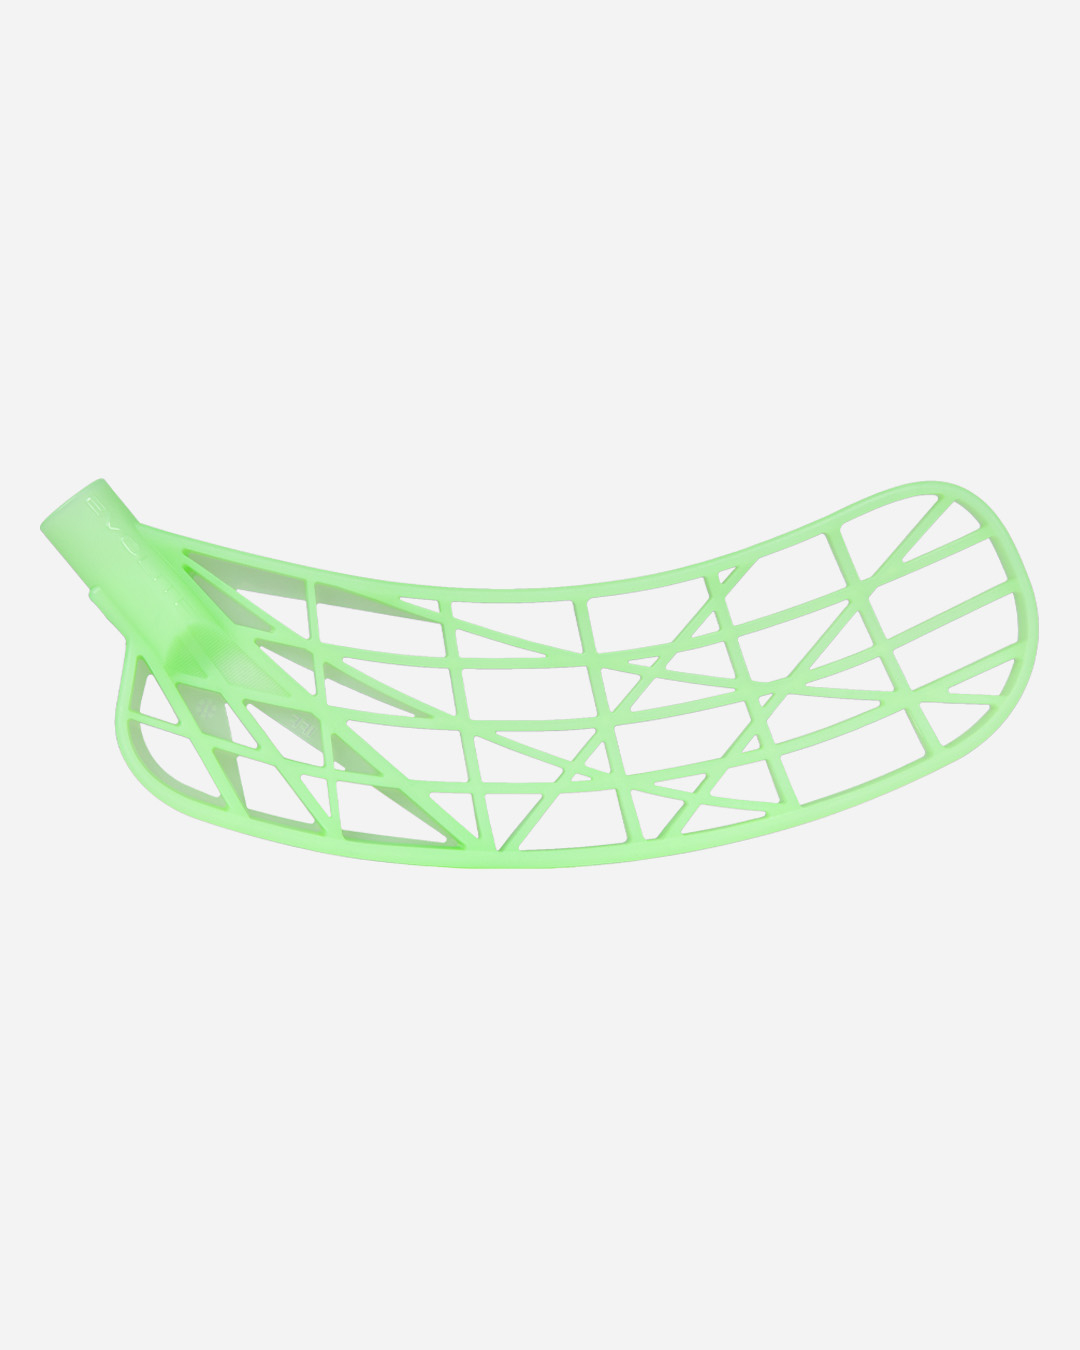
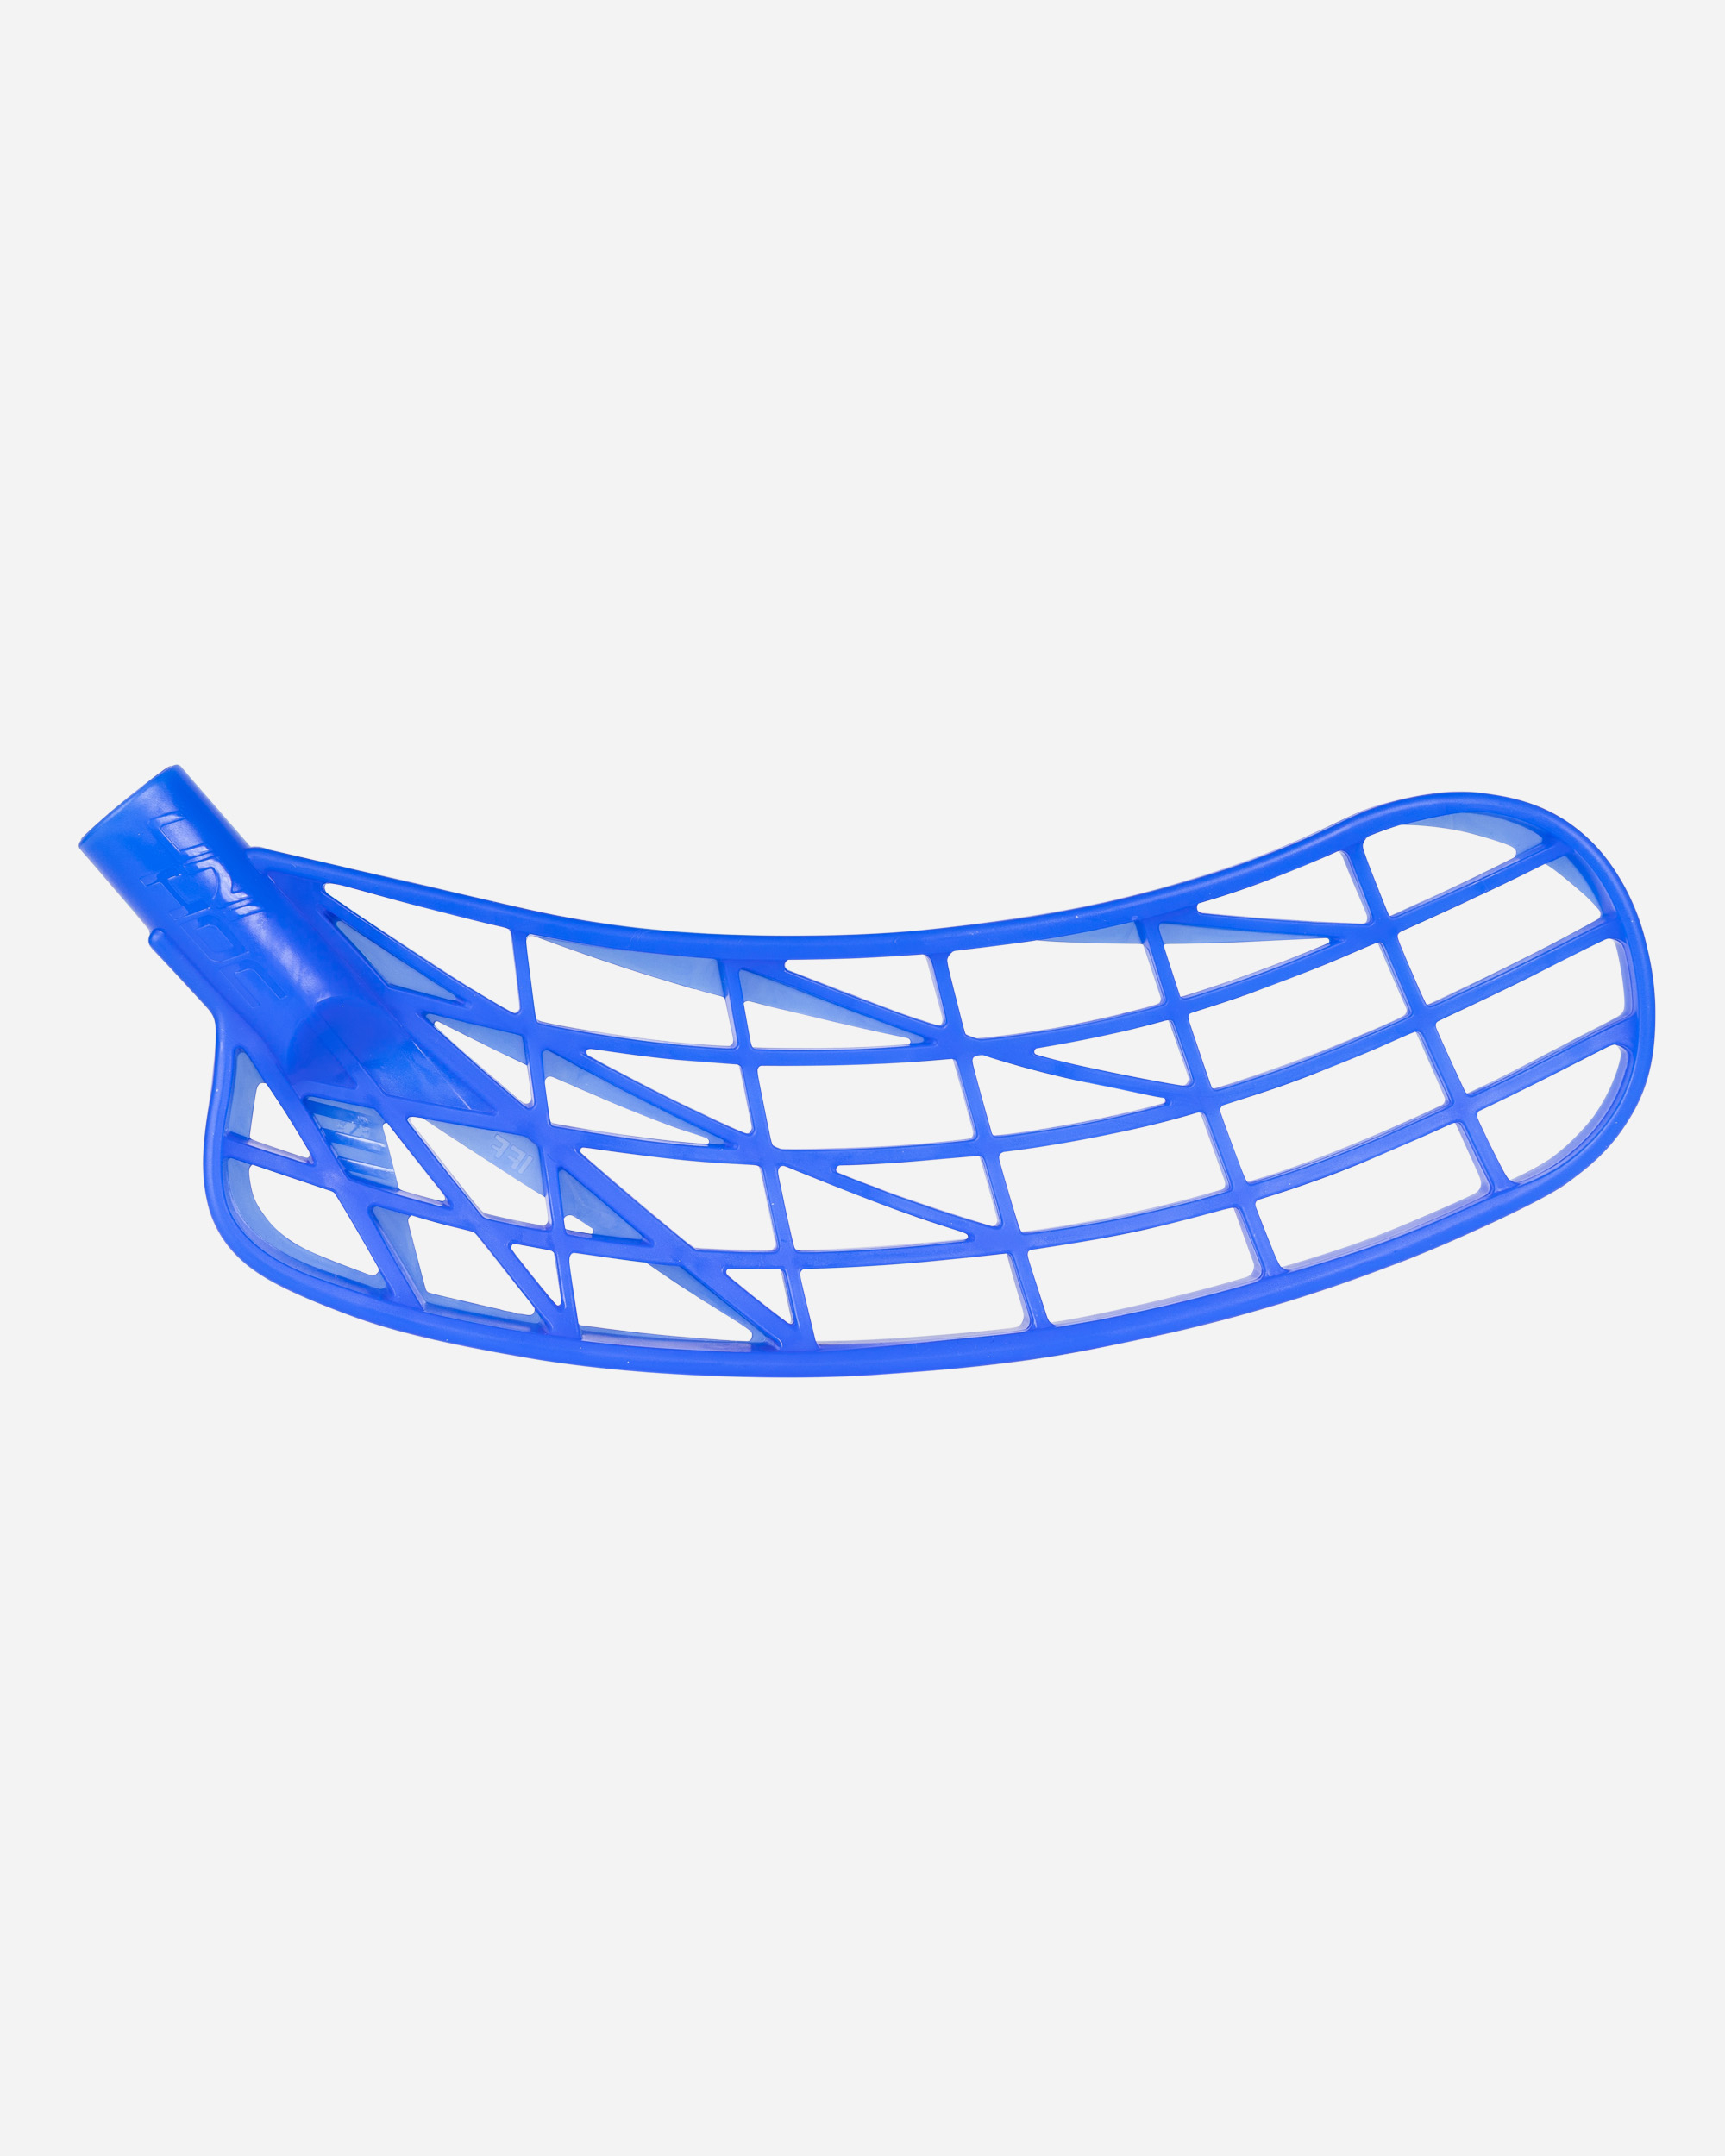
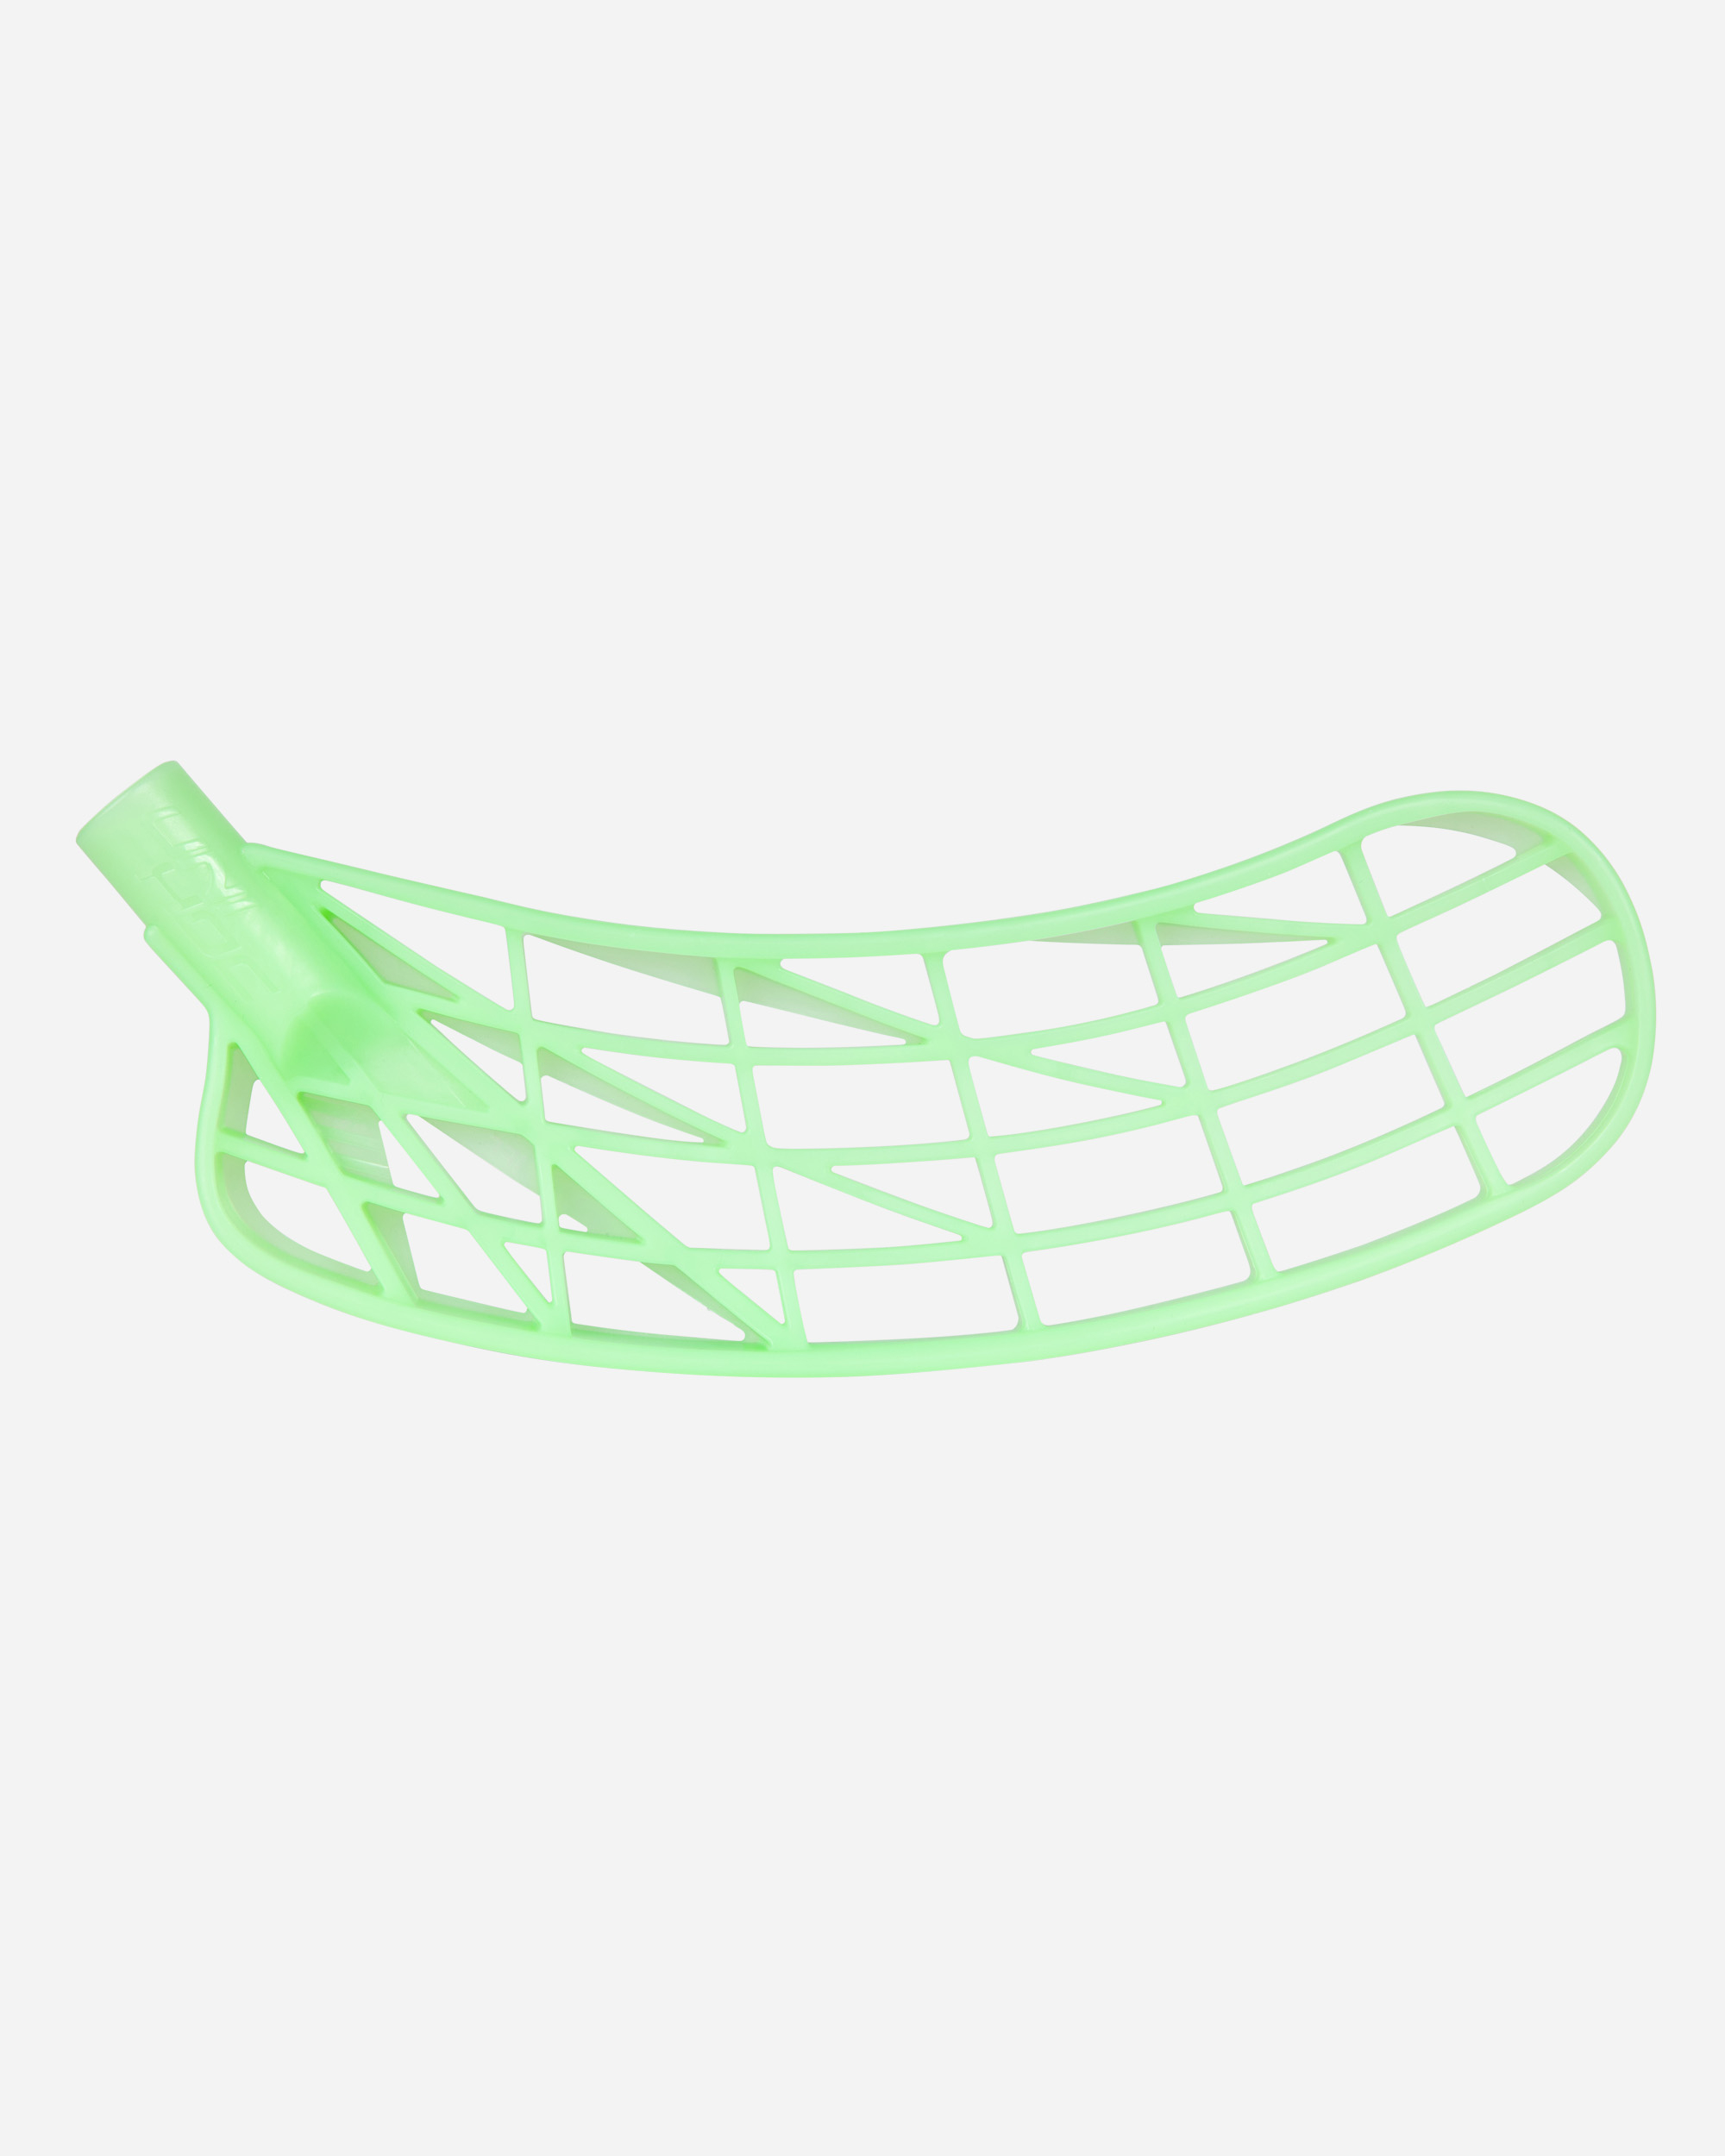
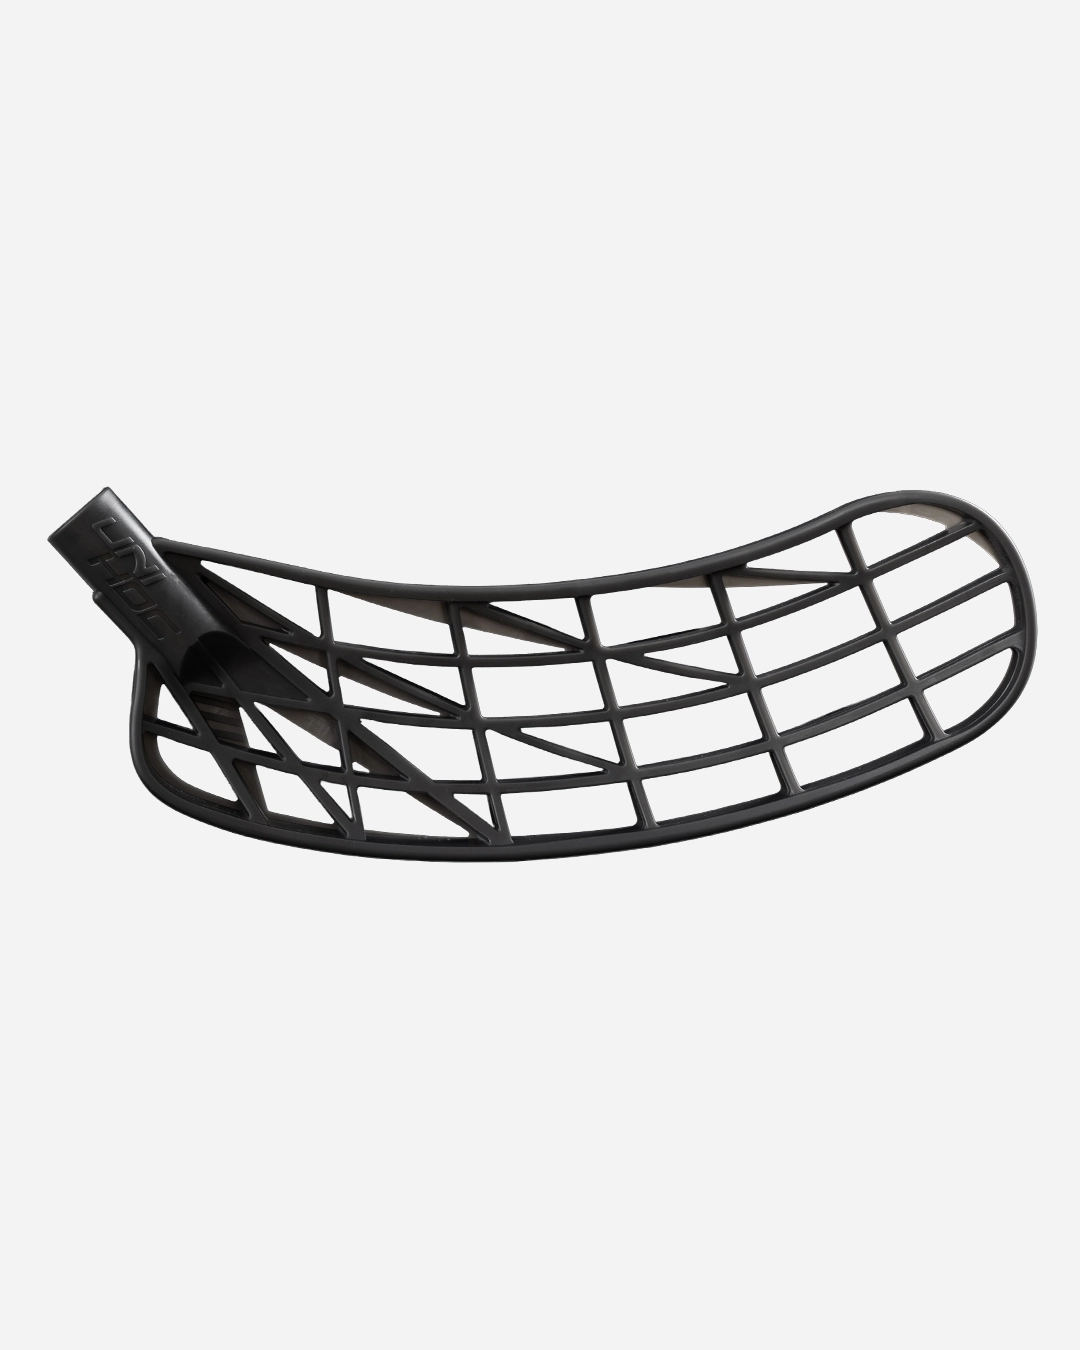
- A new floorball blade from UNIHOC
Tip! Use gloves if you are working with heat – it quickly gets hotter than you think.
1. Remove the old blade from the floorball stick
- The first step in changing the blade is to loosen the old one. Start by:
- Locate the screw(s) holding the blade in place – they are usually on the underside near the shaft end.
- Use the Torx key or screwdriver and carefully unscrew them. The screws can often be reused.
- Heat the joint where the blade is attached, either by dipping it in hot (almost boiling) water for 1–2 minutes, or by directing a heat gun at the cylindrical part of the blade. Be careful not to melt the plastic or damage the shaft. Please note that PP is melting at 160° celsius and PE at around 120° celsius. The shaft epoxy starts melting at around 200° celsius but gets softer earlier, and too much heating can damage the shaft. Boiling water is more safe than a heating gun, according to us.
If the blade is stuck: Ask a friend for help and pull together from each side, straight out from the shaft.
2. Clean the shaft end before assembly
- Once you have removed the old blade, make sure to clean the end of the shaft thoroughly. There should be no dirt, dust, or old glue residue left. A clean surface is crucial for the new blade to fit properly and not become loose.
- “A clean shaft end is the foundation for a safe and durable blade replacement.”
- Some players use white tape (e.g., coach tape) to create a tighter fit, but this is optional – however, never forget to secure the blade with the screws when finished. The stick is not match-approved by the IFF if you do not use the supplied screws.
3. Attach the new floorball blade
Now it’s time to mount your new floorball blade:
- Secure that the blade is attached straight by comparing it to the stick design.
- Align the blade with the shaft. Near the tip there is often a small marking on the shaft showing the correct position.
- Press the blade on until it clicks into place. When properly mounted, the marking on the shaft is no longer visible.
4. Secure the blade with screws
- When the blade is in the correct position, it’s time to secure it with screws:
- Put the screw(s) back into the holes on the blade.
- Use the Allen key or screwdriver and tighten carefully – but not too hard.
- If the holes on the new blade do not match the holes in the shaft, you can drill new ones with a 1.5 mm drill. This is common when switching to another brand or model.
“It is not unusual to have to drill new holes when changing blades – just make sure to do it precisely.”
5. Check that the blade is straight
- Before you start playing, carefully check that the blade is correctly mounted:
- Hold the stick in your normal playing position.
- Check that the blade is in line with the shaft and not pointing sideways.
6. Test the stick before playing a match
- Finally, it’s time to test! Shoot a few balls in practice or against a wall to ensure the blade works as it should. Check that:
- The blade does not move.
- It feels stable when hitting the ball.
Summary: Changing a floorball stick blade
Changing the blade on a floorball stick does not have to be difficult, but it requires care. A poorly mounted blade can affect your playing style and increase the risk of damage to the stick. By following the steps above, you will achieve a safe assembly – and perhaps a better feel in both shots and passes.
.webp)
.webp)
.jpg)
.webp)
.webp)
FAQ: Changing a floorball blade – everything you need to know
How do you change the blade on a floorball stick?
Do you have to heat the blade to change it?
What tools do you need to change a floorball blade?
What if the blade is stuck and won’t come off?
Which blade fits my floorball stick?
Can you switch from a left to a right blade?
What is the difference between different floorball blades?
Can children change the blade themselves on a floorball stick?
Are you allowed to bend the blade yourself with heat?
Common searches this article answers:
- How to change a blade on a floorball stick
- Remove blade from floorball stick
- Attach new floorball blade
- Change Unihoc blade
- Correct blade for my stick
- Blade stuck – what to do?

Johan Jihde
Johan Jihde has extensive experience within UNIHOC and the floorball industry, both as brand manager for UNIHOC for many years and as a pro player in both Sweden and Switzerland. With a practical eye for detail and a passion for floorball, he shares tips on equipment, technique, and sticks – always with a focus on function, playing feel, and durability in material choices.
Updated: 2026-06-17